How to Create Your Own E-Liquid: The Complete DIY E-Liquid Guide
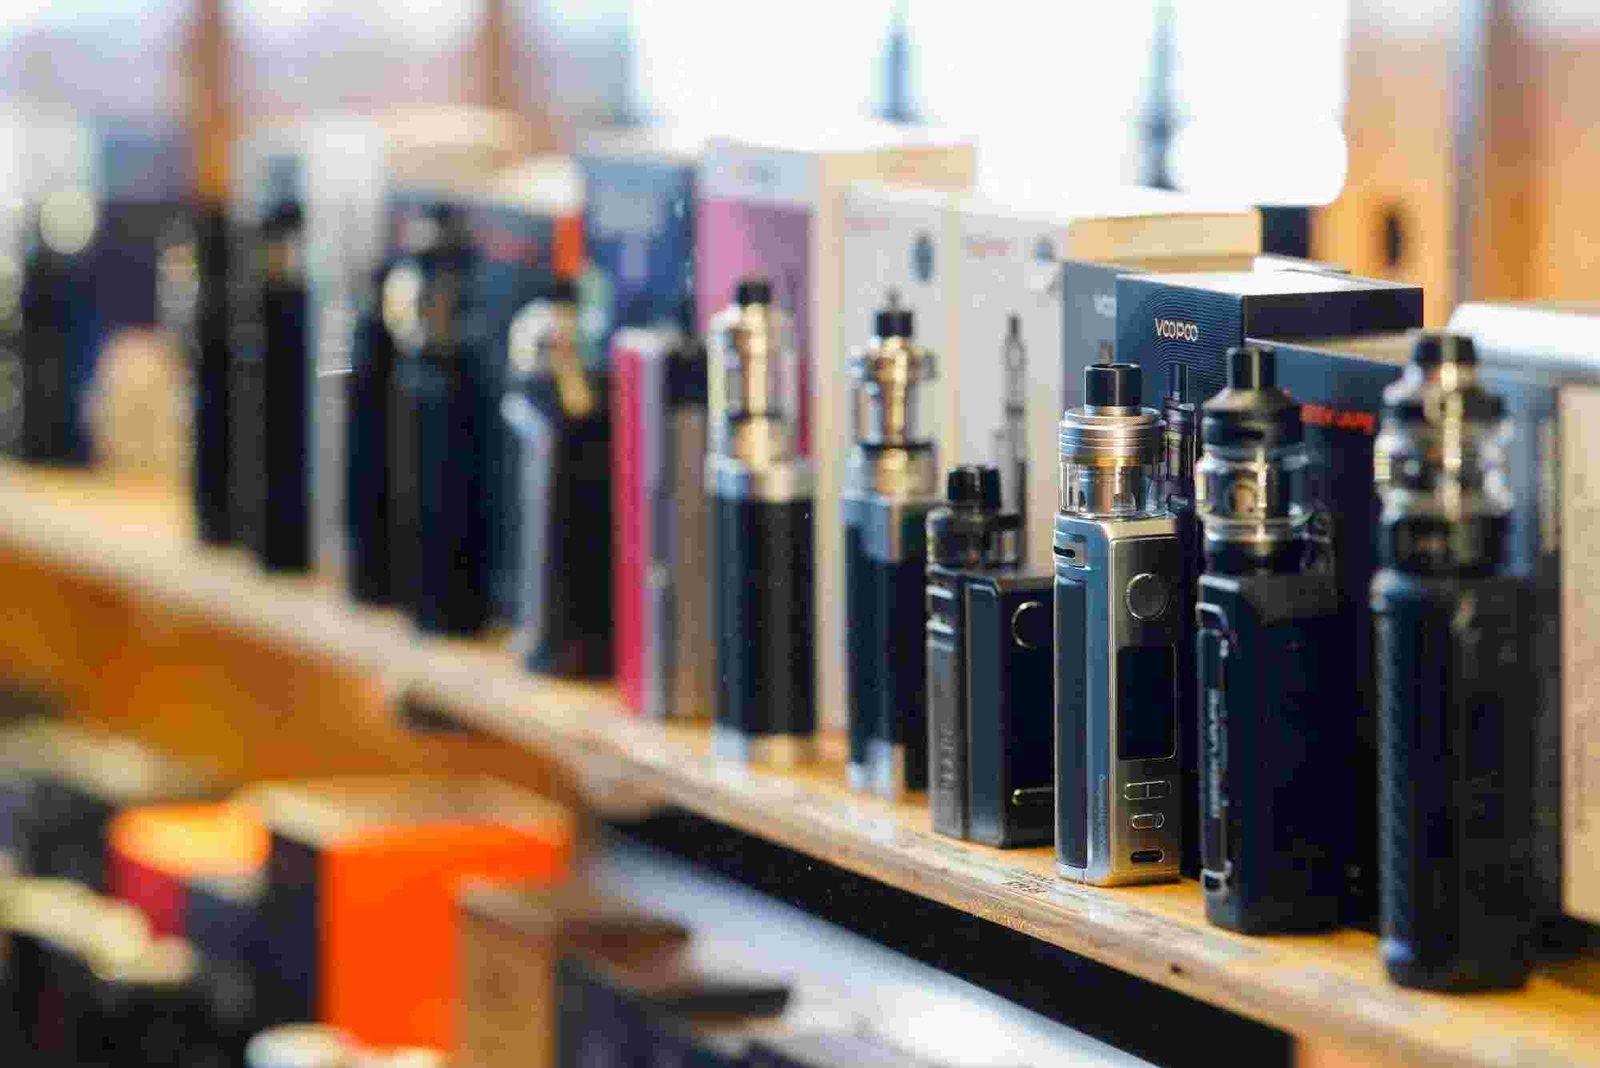
If you’ve ever wondered how to create your own e-liquid at home, you’re not alone. With the rise in vaping culture, many vapers are turning to DIY e-liquid mixing as a way to personalize flavors, save money, and control what goes into their vape. This DIY e-liquid guide will walk you through every step of the process, from understanding the basic ingredients to mixing safely and effectively. Whether you’re a seasoned hobbyist or a curious beginner, this guide will help you craft your own vape juice confidently.
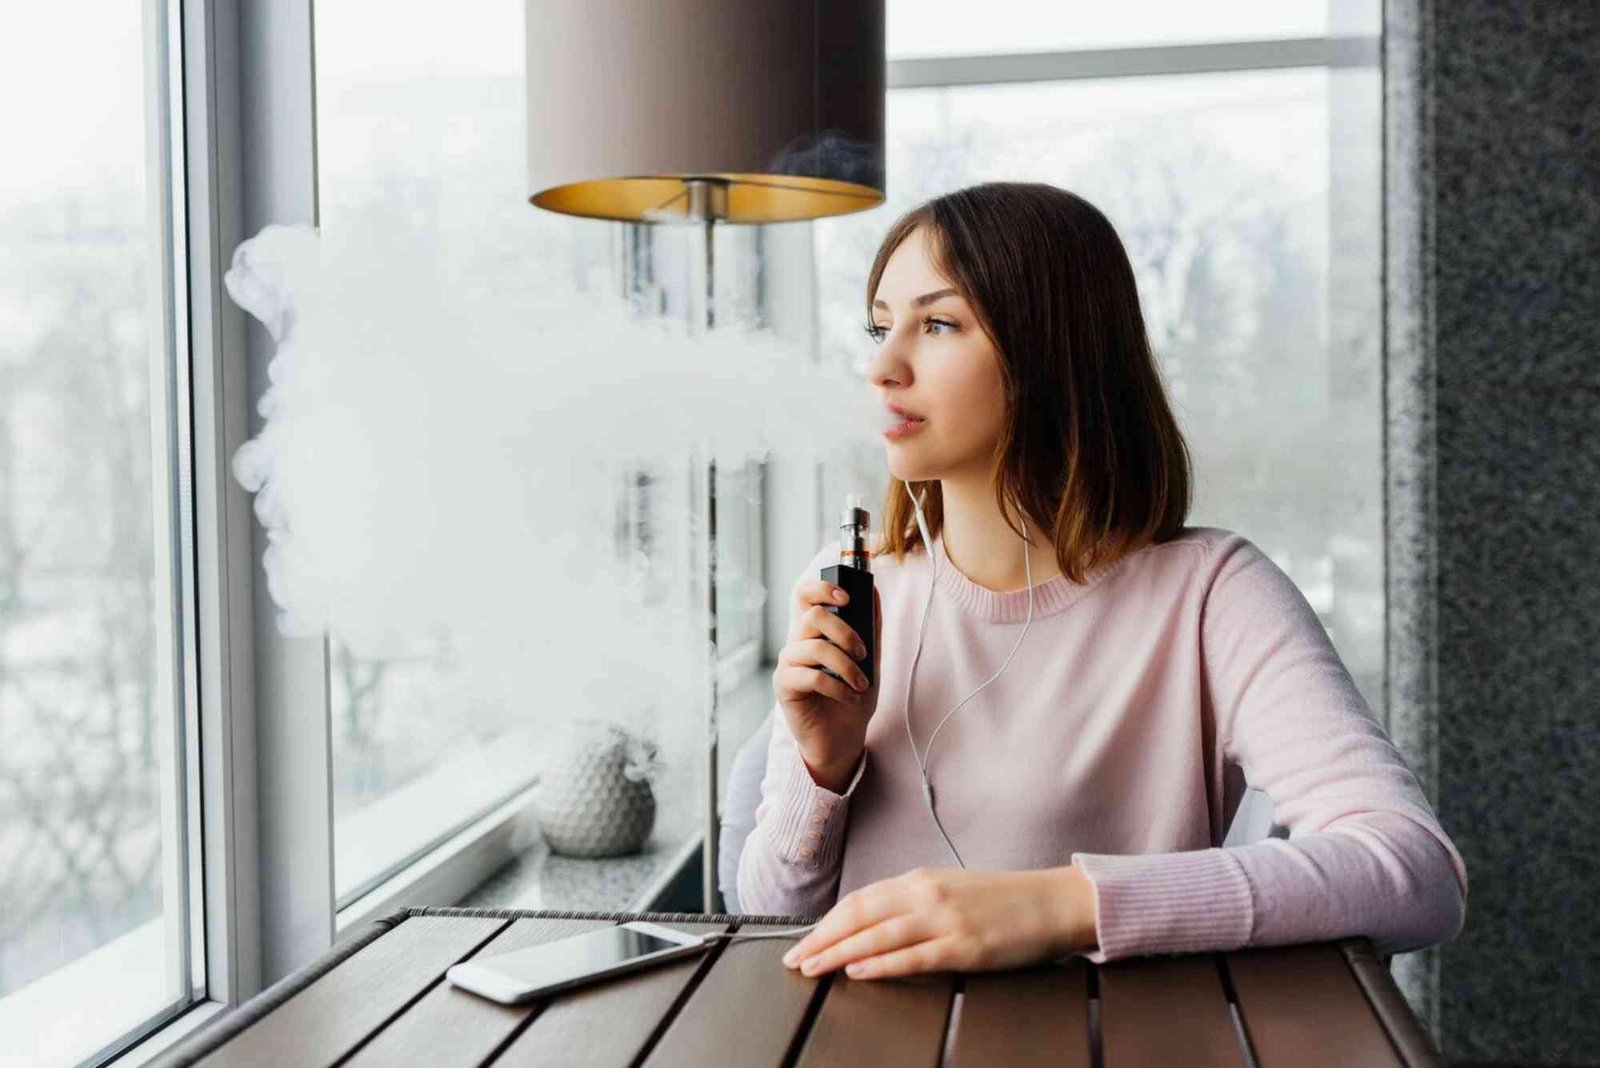
Why Make Your Own E-Liquid?
Making your own e-liquid gives you full control over the flavor, nicotine strength, and VG/PG ratio. You’re no longer dependent on commercial brands or limited to the flavors available at your local vape shop. Additionally, DIY vape juice can be more cost-effective in the long run. With just a few tools and ingredients, you can produce high-quality e-liquid at home tailored exactly to your preferences.

Understanding the Ingredients
Every e-liquid is made up of four basic components: Propylene Glycol (PG), Vegetable Glycerin (VG), flavor concentrate, and nicotine (optional). Each plays a distinct role in the vaping experience.
Propylene Glycol (PG): PG is a thin, odorless liquid that helps carry flavor. It provides a stronger throat hit, similar to smoking traditional cigarettes. It’s often used in higher ratios for users who prioritize flavor and a sharp inhale.
Vegetable Glycerin (VG): VG is a thicker, slightly sweet liquid that produces denser vapor clouds. It’s smoother on the throat and is commonly favored by cloud chasers.
Flavor Concentrate: These are the flavorings that give your e-liquid its taste. They can range from fruity and dessert flavors to complex tobacco blends. High-quality flavor concentrates designed specifically for vaping should be used, never food-grade or baking flavorings unless specified as safe for inhalation.
Nicotine: This is optional but important for users who are transitioning from smoking. Nicotine is usually available in base form diluted with either PG or VG and in different strengths. Handle it carefully, especially when using high-concentration nicotine like 100mg/ml.
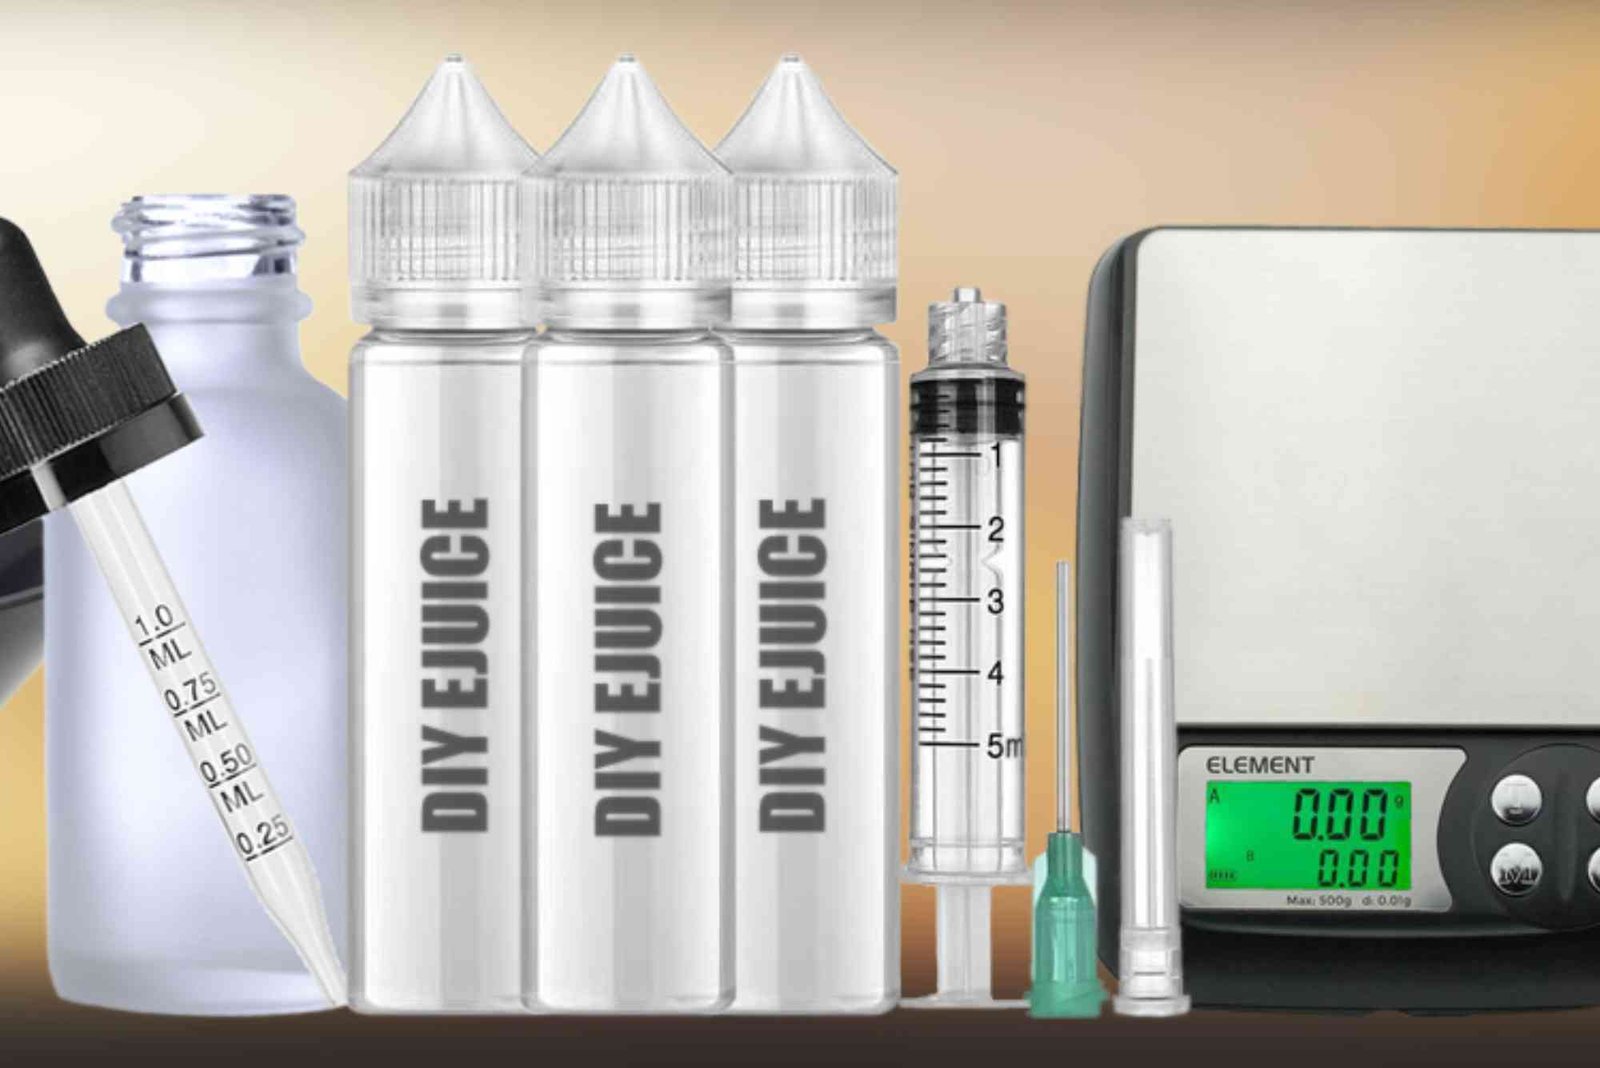
What Tools Do You Need?
To start your DIY e-liquid journey, you’ll need a few basic tools. These include:
- Bottles for mixing and storing your liquid (preferably dark glass or high-quality plastic)
- Syringes or pipettes for accurate measurement of ingredients
- A digital scale (if mixing by weight)
- Gloves and safety glasses for handling nicotine
- A clean workspace with good ventilation
While measuring by volume (ml) using syringes is common for beginners, more advanced mixers prefer weighing ingredients for better precision and consistency.
Safety First: Handling Nicotine
Nicotine can be toxic in high doses and should always be handled with care. Wear gloves and safety goggles when dealing with it, especially if using high-strength base nicotine. Always keep your nicotine and DIY ingredients out of reach of children and pets. Ensure your workspace is clean, free from distractions, and well-ventilated. Accidental spills should be cleaned up immediately using paper towels and soap.
Understanding Ratios: PG/VG/Nicotine/Flavor
Creating the perfect blend starts with understanding the right balance of ingredients. A typical beginner recipe might look something like this:
- 70% VG / 30% PG for smooth vapor and clouds
- 10-15% flavor concentrate (varies based on strength and manufacturer)
- 3-6mg nicotine strength for moderate smokers
You can adjust the ratios based on your preferences. For example, if you’re using a mouth-to-lung (MTL) device, you might prefer a 50/50 PG/VG ratio for a stronger throat hit. Sub-ohm users generally favor higher VG blends like 80/20 for bigger vapor clouds.
How to Mix E-Liquid: Step-by-Step
Start by deciding the total amount of e-liquid you want to make — 30ml is a good beginner size. Use an online e-liquid calculator to input your desired ratios of VG, PG, nicotine, and flavor. This tool will generate the exact measurements you’ll need.
Measure out each ingredient using a syringe or a scale and add them to your mixing bottle. Start with your base nicotine (if using), followed by PG, VG, and finally the flavor concentrate. Cap the bottle tightly and shake vigorously for 1-2 minutes to ensure all components are evenly blended.
After mixing, it’s time to steep your liquid.
The Steeping Process
Steeping is the process of aging your e-liquid to enhance its flavor. Some flavors, like tobacco and dessert blends, benefit greatly from steeping. Fruit and menthol flavors often taste good immediately.
Steeping times vary:
- Shake and vape: Some fruit and menthol recipes can be used right after mixing.
- Short steep: 3–5 days for basic blends.
- Long steep: 2–4 weeks for custards, creams, and complex flavors.
Store your e-liquid in a cool, dark place and shake it daily during steeping. Some mixers leave the cap slightly open for the first day to allow alcohols to evaporate, a method known as “breathing.” However, don’t overdo it, as flavor and nicotine can degrade when exposed to too much air.
Flavor Mixing Tips
When it comes to flavor, experimentation is key. Start with single-flavor recipes to get a feel for how each concentrate performs. Once you’re confident, try combining two or three flavors for a more complex profile.
Use reputable brands known for consistency and safety, such as Capella, Flavorah, TFA, and FlavourArt. Keep detailed notes of each recipe so you can adjust over time. A flavor that tastes weak may need a higher percentage, while an overpowering one should be reduced.
Common Mistakes to Avoid
One of the most common DIY e-liquid mistakes is adding too much flavor. More isn’t always better; many flavors become harsh or unpleasant when overused. Another mistake is skipping safety gear when handling nicotine. Even a small spill can be dangerous if it contacts your skin.
Not steeping enough is another issue. If your juice tastes off, it might just need more time to develop. Lastly, always label your mixes with the date and ingredients. It’s easy to forget what went into a bottle two weeks later.
Troubleshooting Your Mixes
If your e-liquid tastes harsh, check your PG/VG ratio and nicotine strength. Too much PG or nicotine can irritate the throat. If the flavor is muted, try adding 1–2% more concentrate or reducing VG slightly. If you detect a peppery taste, your nicotine might be oxidized or too strong. Store nicotine in the fridge or freezer in amber bottles to extend its shelf life.
Is DIY E-Liquid Cheaper?
Absolutely. A 30ml bottle of commercial e-liquid can cost $10–20. In contrast, you can make that same amount for under $1 with DIY. Over time, the savings add up, especially for heavy vapers. Your initial investment in supplies may be around $50–100, but it pays off quickly.
Is It Safe to Vape DIY E-Liquid?
Yes — as long as you’re using pharmaceutical-grade ingredients from trusted suppliers and measuring accurately. Never substitute non-vape flavorings or oils, as they can be harmful when inhaled. Follow proper hygiene, storage, and steeping practices, and DIY e-liquid can be as safe and enjoyable as anything store-bought.
Start Your DIY Journey Today
Creating your own e-liquid is a fun, rewarding hobby that can enhance your vaping experience. With this DIY e-liquid guide, you’re equipped with the knowledge to start mixing safely and confidently. Not only will you gain complete control over what you vape, but you’ll also enjoy the creative process of customizing your flavors.
FAQ
What do I need to make DIY e-liquid at home?
To make DIY e-liquid, you’ll need VG, PG, flavor concentrates, optional nicotine, syringes or a digital scale, bottles, gloves, and a clean workspace. Using a vape recipe calculator helps you get the right ratios for your desired vape juice.
How long should I steep my DIY e-liquid?
Steeping times vary by flavor. Fruit blends may be ready in 1–3 days, while dessert or custard flavors often need 2–4 weeks. Store in a cool, dark place and shake daily.
Can I make vape juice without nicotine?
Yes, absolutely. If you’re vaping for flavor or clouds, you can skip nicotine entirely. Just use VG, PG, and flavoring in your mix. It’s a great option for those reducing nicotine intake.
What is the best PG/VG ratio for DIY e-liquid?
It depends on your device and preference. 70VG/30PG is popular for sub-ohm vaping with big clouds. For more throat hit and flavor, a 50/50 mix works well in MTL devices.
Is it legal to make your own vape juice?
In most countries, yes — making your own e-liquid for personal use is legal. However, selling DIY e-liquid may require licenses or testing under local vaping laws.